We know the importance of CI/CD in the software industry. Thus, in this article, we explain how to prepare your machine for Continuous Delivery. We do that in the easiest way, by using two open-source software: Docker and Jenkins. In this Docker Jenkins Tutorial, you will learn how to set up a light-weight CD server on your workstation. Furthermore, we will explain how to deal with some nasty settings on Windows.
Up and Running with Docker
Get Docker
Docker is a powerful system to run containers, lightweight versions of virtual machines. Unlike a virtual machine, a container does not include an entire OS, but it relies on the host. In other words, it is like a VM but containing only the things you strictly need. For the Operating System part, the container will ask docker (and the server that runs docker) to do its part. As a result, containers are tiny: you can run them with as little as 50MB of RAM. Our plan is to run Jenkins in a container, after all, it is a Docker Jenkins Tutorial.
To make this happen, we need to get Docker on our system first. This is easy, both on Windows and MAC. You can go to the Docker Get Started page and click on the download link for your platform. For Linux, you may want to use apt-get or a similar package manager.
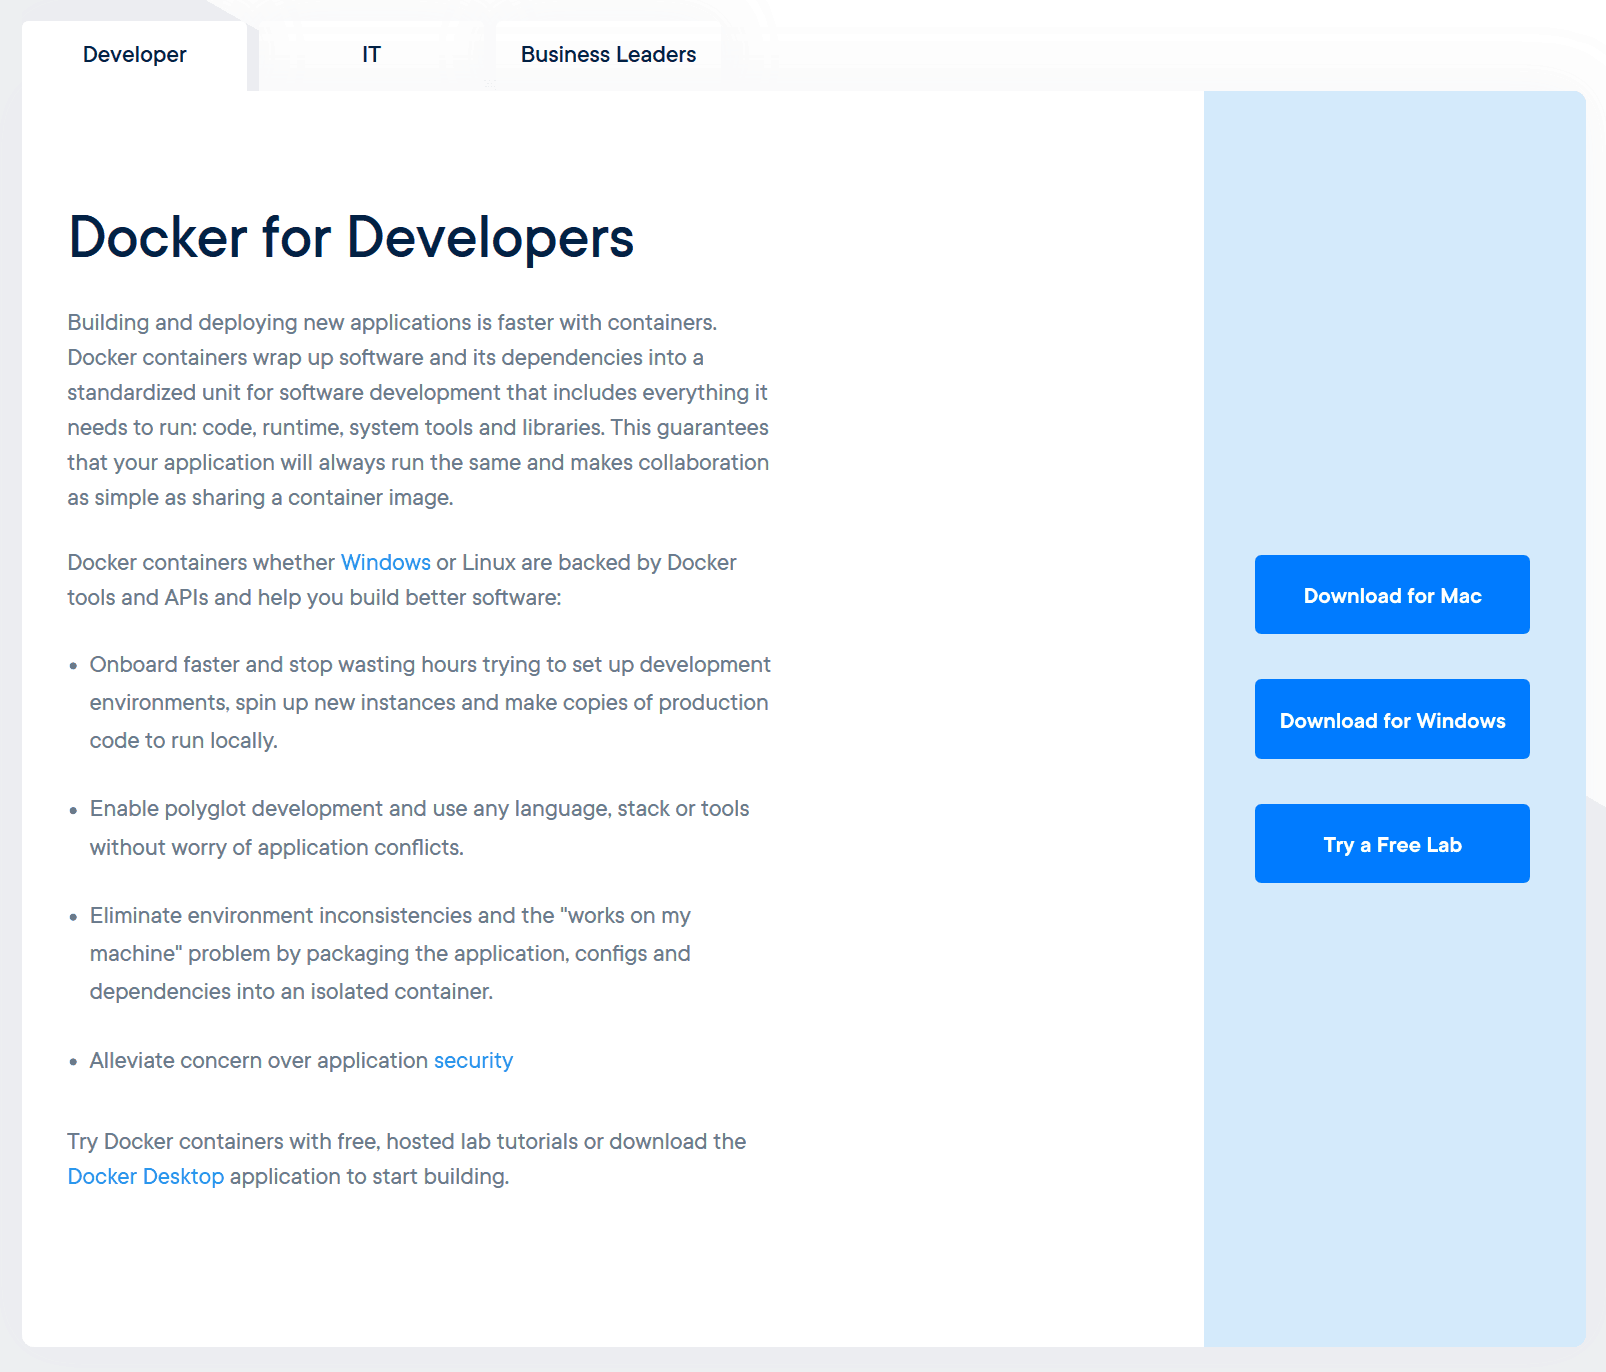
This will download a “Next-Next” setup you can complete easily, leaving everything to default. The installation may require several reboots, and you may even need to register to Docker Hub. Docker Hub is like a common place where developers can share containers with each other. By registering, you will have access to all repositories, so it is worth it anyway.
Tune Docker a little bit
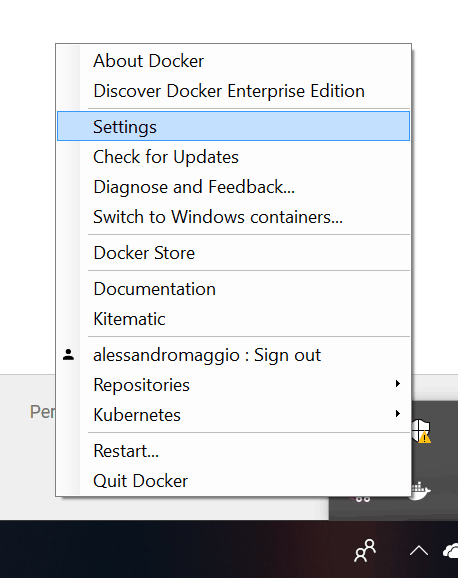
Once Docker is installed, we aren’t ready for Jenkins just yet. Instead, we need to tweak a few settings in Docker. Specifically, we need to configure disk sharing between your PC and the docker containers. We will need that for later. To do that, launch Docker (the whale icon). This won’t open an application but will add Docker in the system tray. Right-click on it, and select settings.
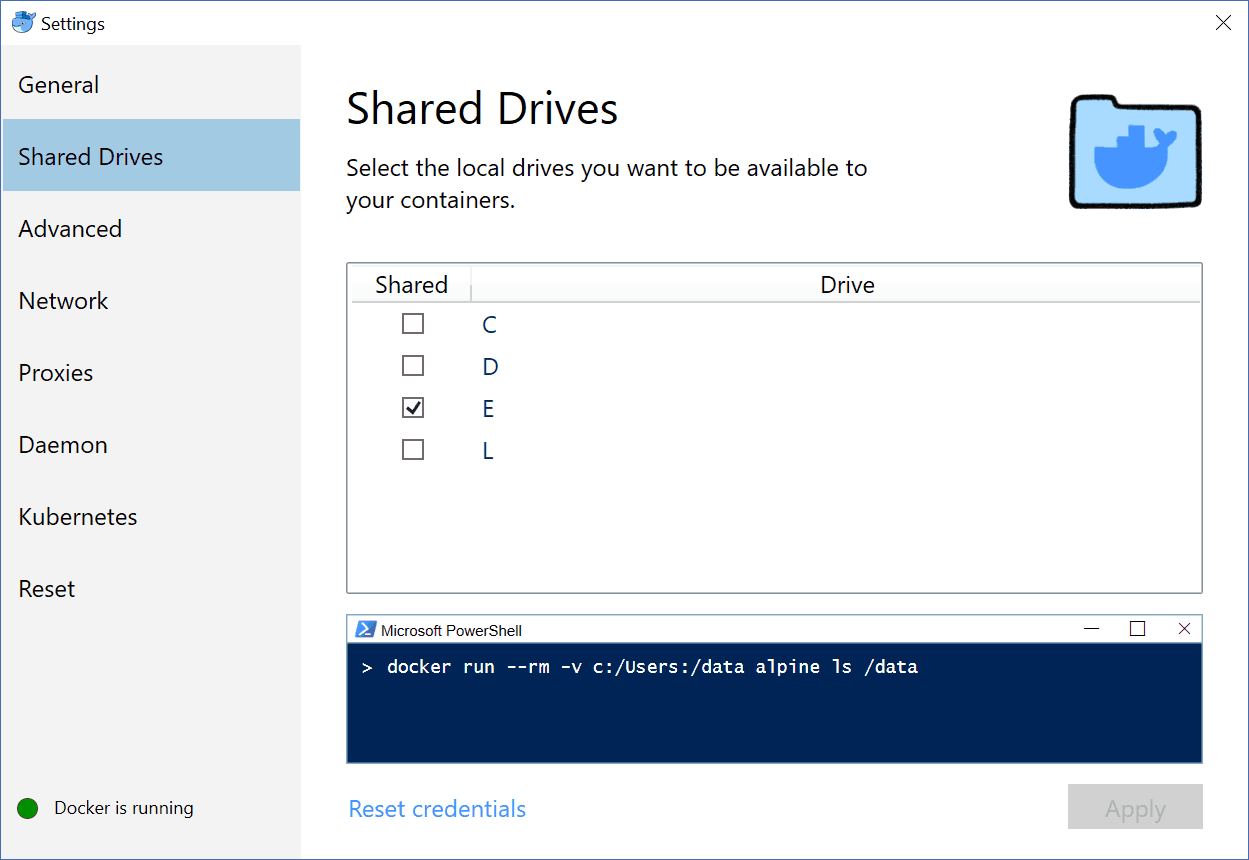
Now, navigate to Shared Drives in Docker and select one or more drives to share. In this example, we decided to use Disk E:/, but you can use any disk you’d like. Once you select a drive and click “Apply”, Docker will ask for your windows credentials to finalize this setting. If your password does not work, try to remove the computer name from the user name (from computer\user to user).
There are other tunings you may want to do. However, they relate to docker itself and will go outside the scope of this Docker Jenkins Tutorial. Thus, we won’t cover them here. In case you are curious, things you may want to do include changing the location in your file system of virtual disk and container images. Also note that we won’t go very deep in the Docker commands here, but we will explain only what you need to get up and running with Jenkins.
Check Docker
Now we can check if Docker is ready. Simply open the command prompt (or PowerShell) and type docker --version. If everything works, you should see the version of Docker currently running on your system.
C:\Users\Alessandro Maggio>docker --version
Docker version 18.06.1-ce, build e68fc7a

C:\Users\Alessandro Maggio>
Everything is ready! Now we can get to the cool part of this Docker Jenkins Tutorial. Tip: of course, your version may differ from mine, but the tutorial will apply anyway.
Docker Jenkins Tutorial
Getting Jenkins for Docker
When you installed Windows on your machine, you had to use a DVD or USB key. They contained the operating system installer. The same goes for virtual machines, where you download an ISO image for that. For containers, the concept is always the same, but now you use container images. The first thing we need to do is downloading the container image of Jenkins. We do that from inside Docker, not from your browser.
There are two images you can download.
jenkins/jenkinsis the latest version, it may contain some bugs but it is the first to have new features. It is not recommended for production, but it can be good for tests.jenkins/jenkins:ltsis the Long Term Stable version, more conservative and thus with fewer bugs. Use this for production, and you can use it for tests as well.
We are going to go with LTS, so the command is docker pull jenkins/jenkins:lts. It will start a fancy download in the prompt where you can see the progress with bars of equal signs. This may take a few minutes, depending on your connection. In the end, you should see something like this.
C:\Users\Alessandro Maggio>docker pull jenkins/jenkins:lts
lts: Pulling from jenkins/jenkins
05d1a5232b46: Pull complete
5cee356eda6b: Pull complete
89d3385f0fd3: Pull complete
80ae6b477848: Pull complete
40624ba8b77e: Pull complete
8081dc39373d: Pull complete
8a4b3841871b: Pull complete
b919b8fd1620: Pull complete
2760538fe600: Pull complete
8dfc8830aff9: Pull complete
6e05a878d419: Pull complete
f7fa52355acf: Pull complete
3678d7dc7445: Pull complete
d72bcd829428: Pull complete
2ef693a39243: Pull complete
085d99c4f1b3: Pull complete
d40de153a3a2: Pull complete
224b22f5ad68: Pull complete
19643badb343: Pull complete
f54ccf9b920d: Pull complete
e241a2745421: Pull complete
2eb4d46316e3: Pull complete
Digest: sha256:df7ff8f7c2ab4293ab45a1fb538a6fe0509e82187f3f1bb60f8bfee27af3a87f
Status: Downloaded newer image for jenkins/jenkins:lts

C:\Users\Alessandro Maggio>
And now we can see that we have this new image among the ones on our PC by listing all the images we have. We do that simply with docker image ls. Since this is a brand new setup, we will have only this image.
C:\Users\Alessandro Maggio>docker image ls
REPOSITORY          TAG                 IMAGE ID            CREATED             SIZE
jenkins/jenkins     lts                 64b7082ceb84        9 days ago          703MB

C:\Users\Alessandro Maggio>
Creating our Docker Jenkins container
Here things get interesting. The next step of our Docker Jenkins tutorial is to create a container from the image we downloaded. The command to do is a little bit lengthy, and this is the point where the shared drive comes into play. First, take a look at the command as a whole.
docker run -d -v "E:/Hyper-V/Virtual Hard Disks/Jenkins/jenkins_home":/var/jenkins_home -p 8080:8080 -p 50000:50000 --name jenkins-srv jenkins/jenkins:ltsIt is not scary as it seems, let’s break it down.
docker runsimply means we want to run a docker command-dmeans the container will run in background (as a daemon)- –
v "E:/Hyper-V/Virtual Hard Disks/Jenkins/jenkins_home":/var/jenkins_homeis the sharing of the drive between the container and the host system (our PC). Here we tell that the/var/jenkins_home folderon the container will appear on theE:/Hyper-V/Virtual Hard Disks/Jenkins/jenkins_homefolder on the host. Use the host folder you’d like, but don’t change the one on the container. The folder on the host must exist and be empty. - –
p 8080:8080and-p 50000:50000associate the TCP port 8080 on the container (right) to the same port on the host (left). The same is done for port 50000. We will use port 8080 to manage Jenkins, and port 50000 for builds. --name jenkins-srvis the name we want to give to the container, you can use anything you want.jenkins/jenkins:ltsis the image we want to create the container from.
Once you run the command, you will see the container among the containers on the PC with docker container ls.
C:\Users\Alessandro Maggio>docker container ls
CONTAINER ID        IMAGE                 COMMAND                  CREATED             STATUS              PORTS                                              NAMES
91670261d429        jenkins/jenkins:lts   "/sbin/tini -- /usr/…"   32 seconds ago      Up 29 seconds       0.0.0.0:8080->8080/tcp, 0.0.0.0:50000->50000/tcp   jenkins-srv

C:\Users\Alessandro Maggio>
Unlock Jenkins
Now the nasty part of our Docker Jenkins Tutorial. Using a browser, navigate to localhost:8080, and you will see the following page.
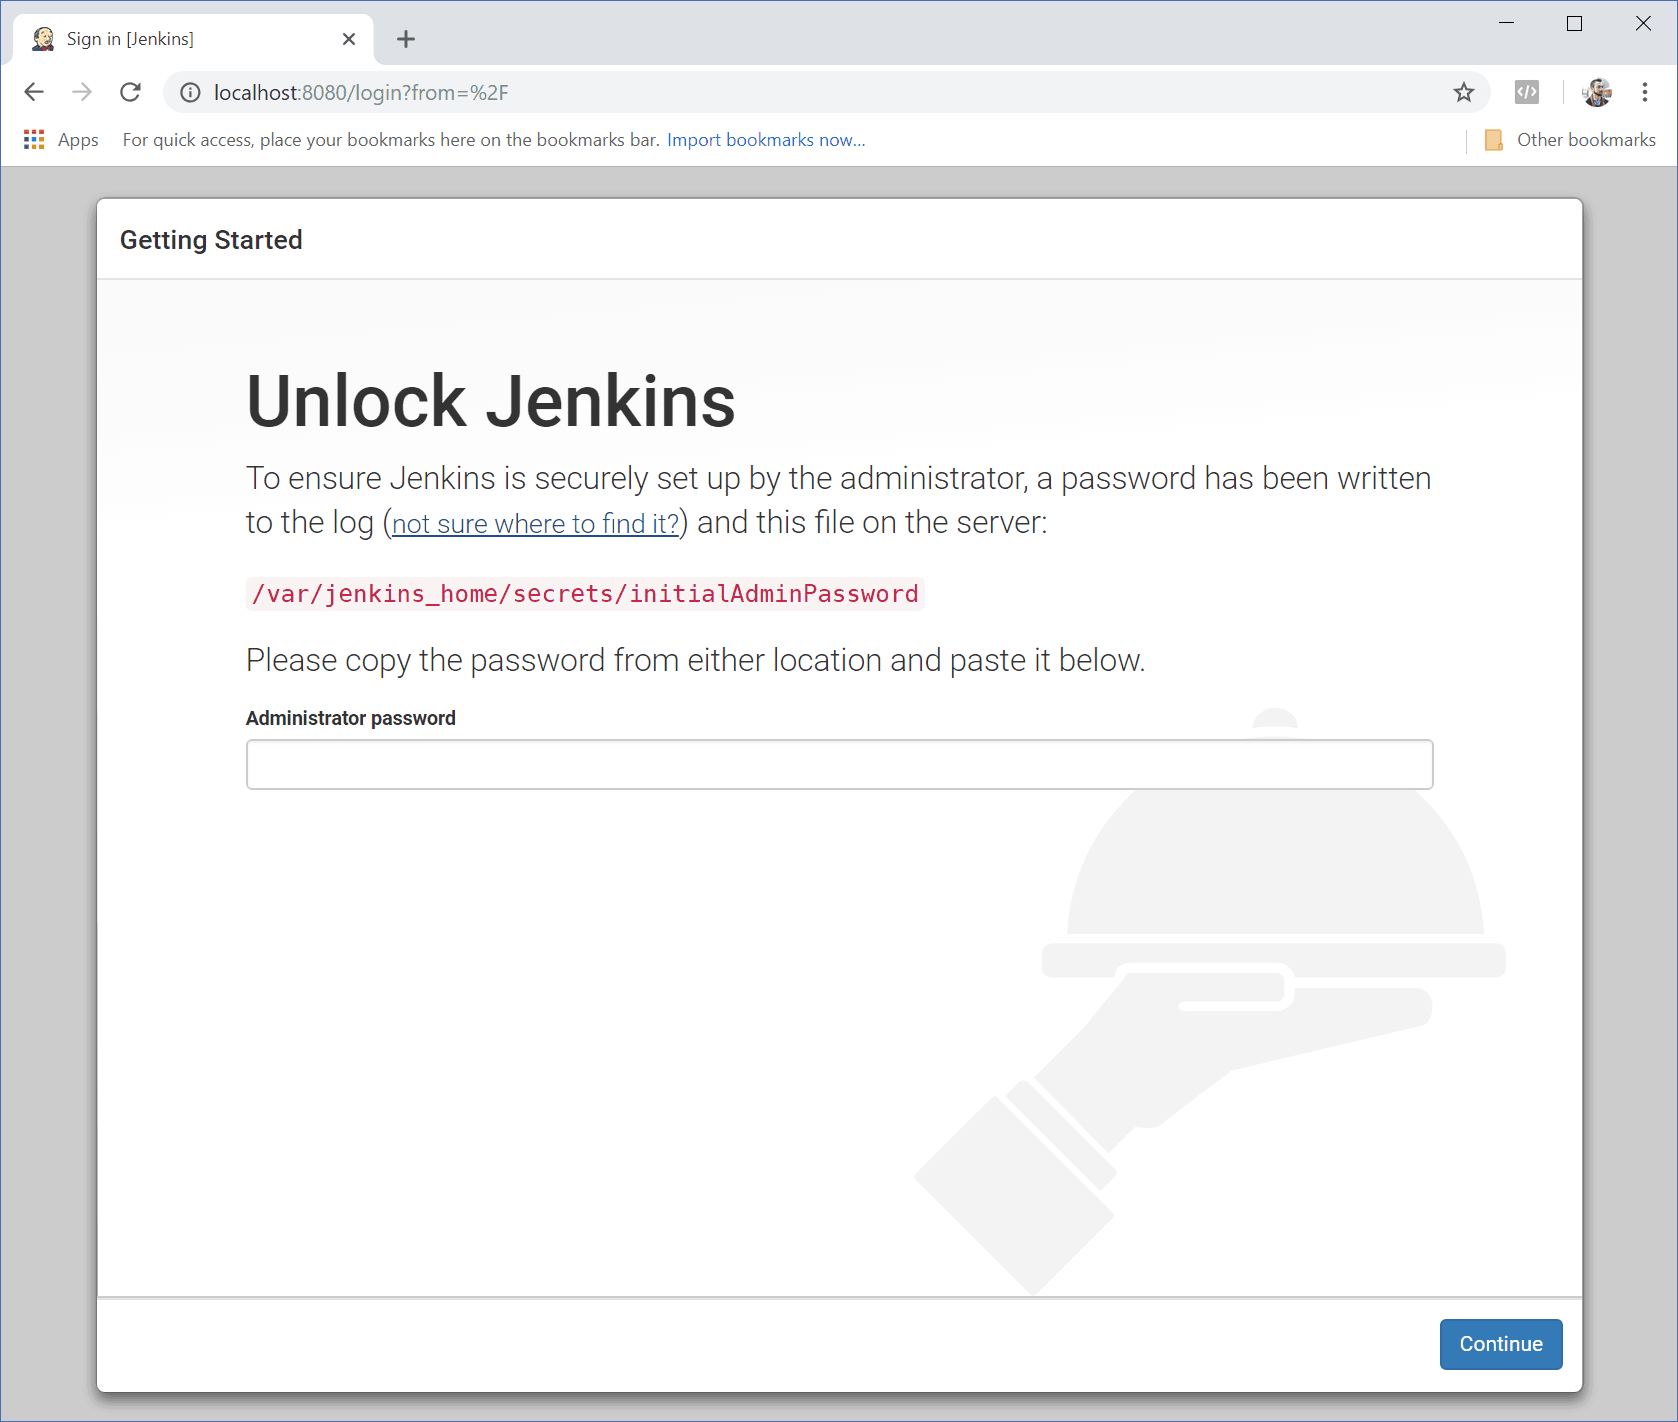
As you can see, Jenkins requires to open the file /var/jenkins_home/secrets/initialAdminPassword. Of course, on Windows we don’t have such folder. What do we do? This is the moment where the shared drive comes to play. In the previous step of our Docker Jenkins Tutorial, we mapped the jenkins_home to a folder on the Windows PC. Now, we can simply browse to that folder, go into the secrets subfolder and open the initialAdminPassword with notepad. And here it is.
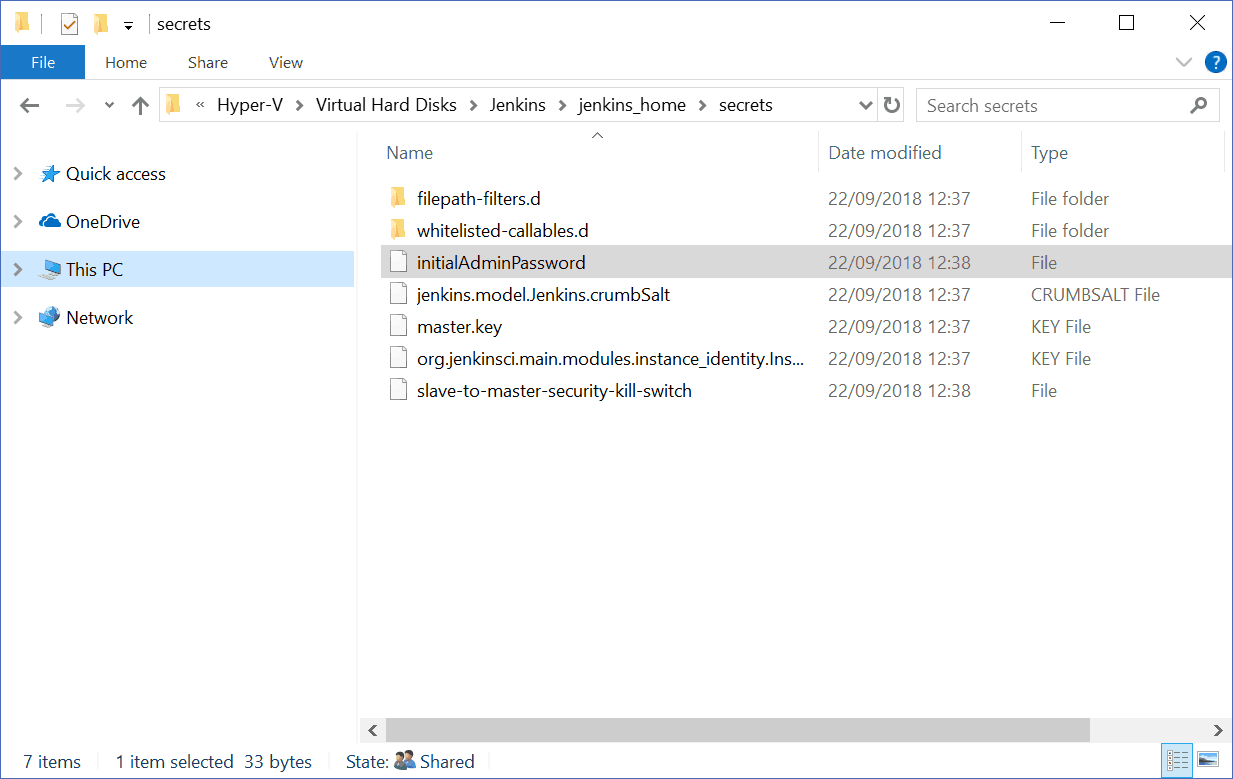
Open the file and copy the password in the browser. Then, select Continue.
Install Plugins in Jenkins
Now, the next part of the setup is installing Jenkins plugins. You can simply opt for installing the predefined ones and enjoy the automatic installation. It will look something like this.
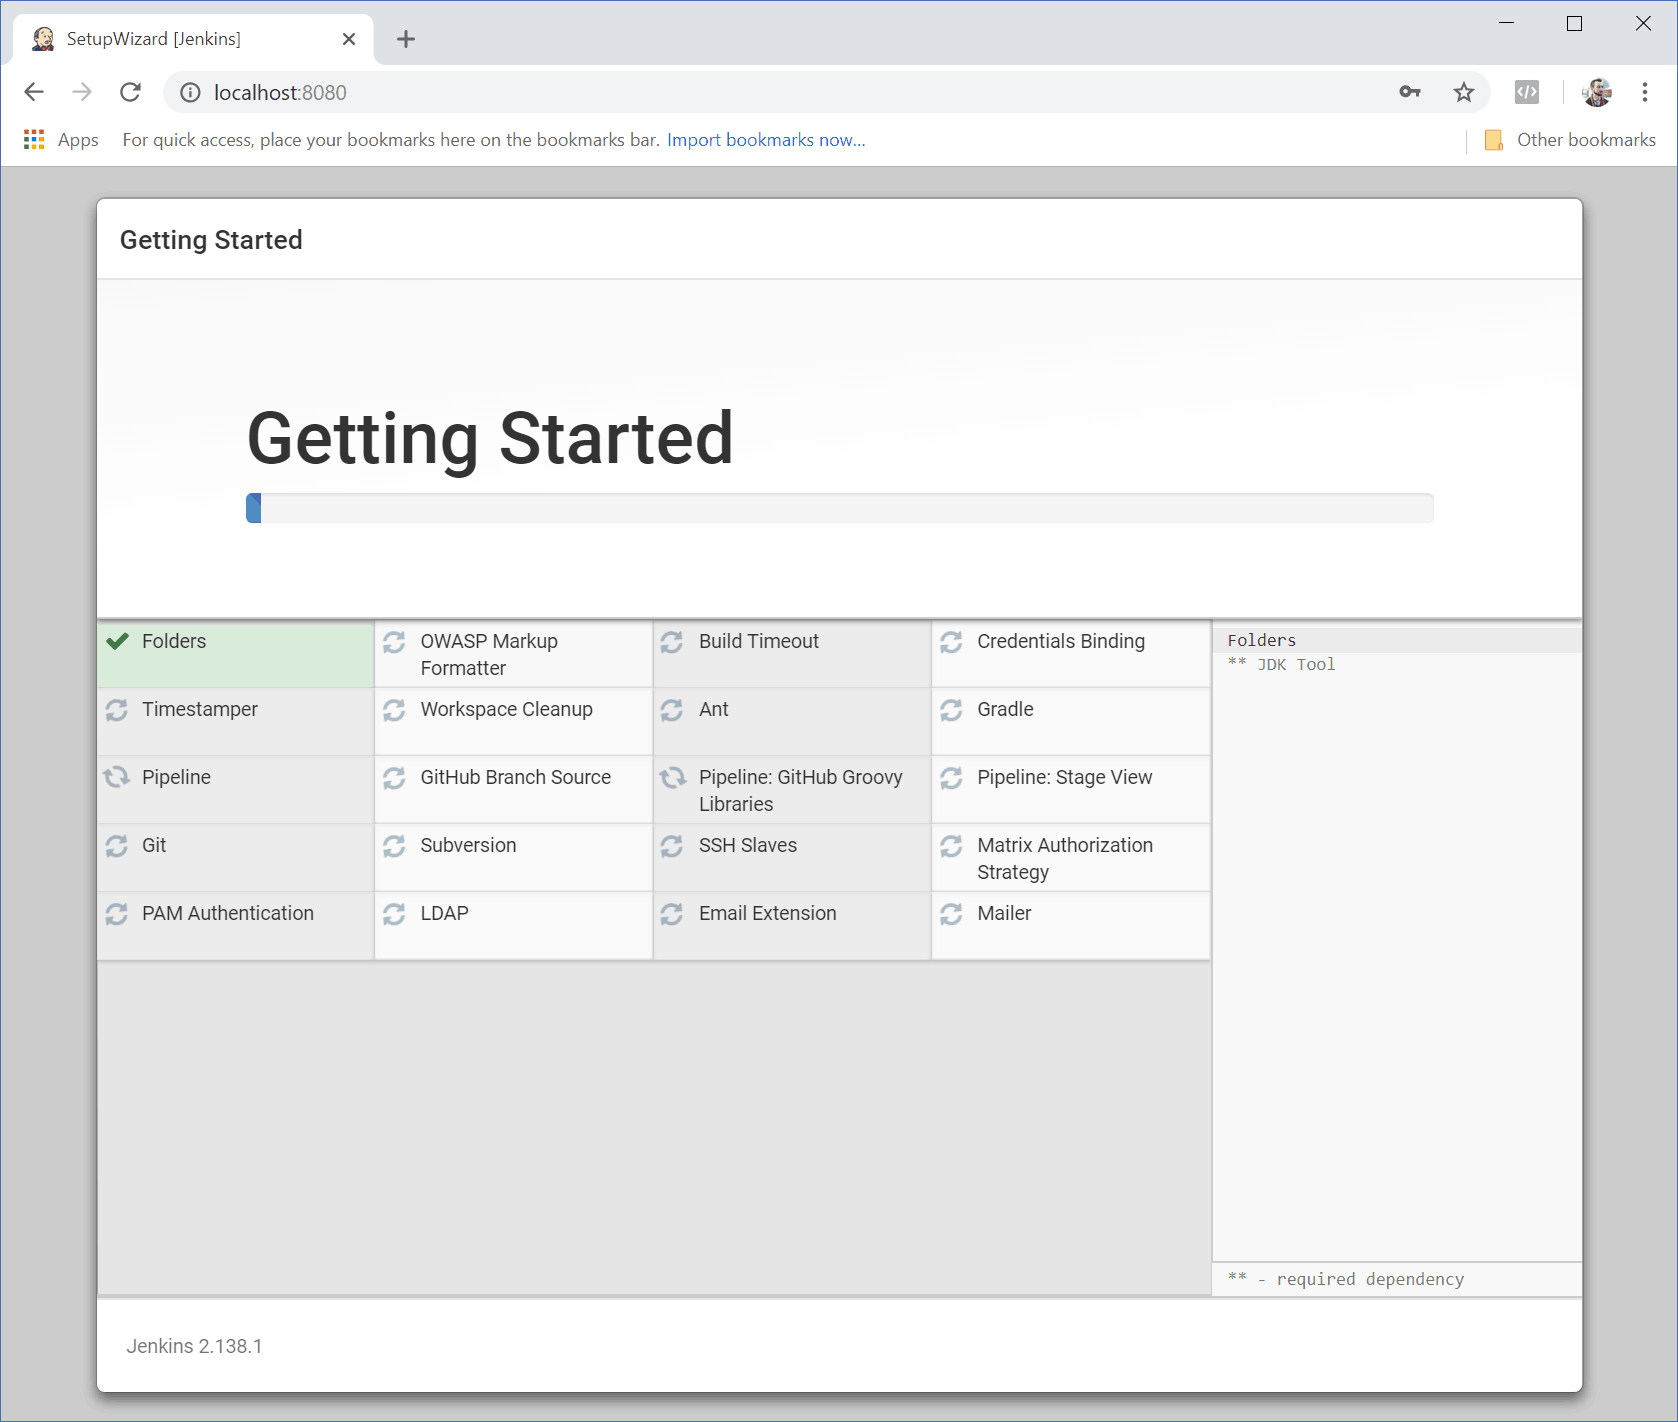
After that, you will be required to create a user to access Jenkins and confirm the Jenkins URL. Once this is finished, you can start using Jenkins. We won’t dive into Jenkins-specific configurations here, because from now on Jenkins works exactly like a Jenkins VM or standalone server.
Wrapping it up
In this Docker Jenkins Tutorial, we explained how to setup Jenkins in Docker on Windows. We can summarize it into the docker installation, the share of the drive, the installation of the docker container, the unlock, and the plugin installation in Jenkins. Now, you are all set to start with Continuous Integration, on your own PC. Hopefully, this will help you maximize the productivity and predictability of the development of your own software.
What do you think about Jenkins? Have you ever tried running it in Docker on Windows before? Let me know your opinions and suggestions in the comments!