We covered DNS in the past, mentioning its importance and what to do if it has some problems. Then, we presented how to manage DNS on Amazon Route53, the leading cloud provider. Today, we see how to use Azure DNS. Unlike AWS, here we bring more focus on the developer-side of DNS.
How to use Azure DNS
Getting Started
Just like AWS, Azure is a cloud provider that offers many services, and not only DNS. To be honest, DNS is not even their main focus. Like Amazon, with Microsoft Azure, you just need one account to access all the services.
To get this account, you need to register yourself to Azure and give your credit card details. Azure offers a pay-as-you-go model, so you will be charged only for the services you use, and only for the time, you use them. You can register, or log-in, from the Azure Portal.
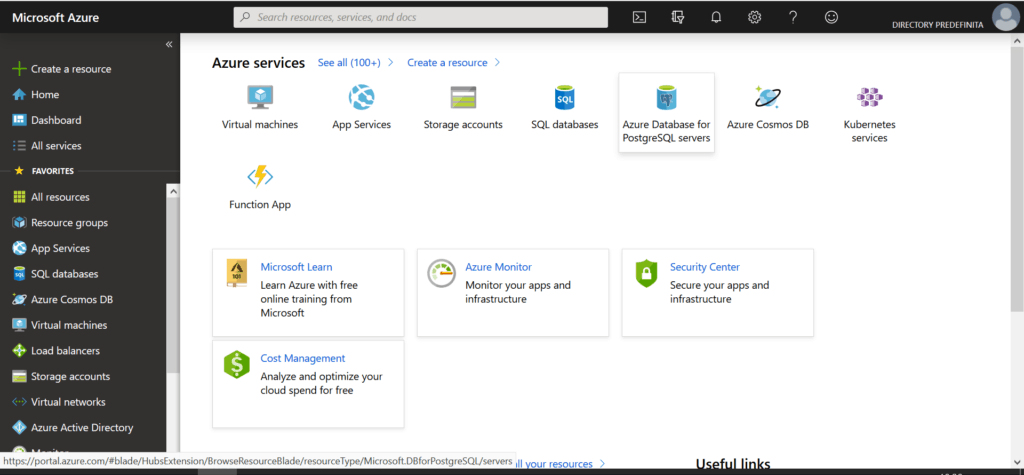
Once you do register, you will end up in the Home of Microsoft Azure. This dashboard may look a little bit confusing at first, as it is full of different stuff. However, it is fairly easy to navigate, with a search bar on top.
Azure DNS Zones
Now that we finished setting up, the service we are looking for is DNS Zones. Thus, search exactly that in the search bar on top. You will also see the service Private DNS Zones, which at the moment of writing is just in preview. We don’t need to use that, go for the normal DNS Zones instead.
If this is the first time for you, you will see an empty list. You can click on the Add button to create a new zone. What is a zone? It is just a normal DNS zone: a domain and all the related sub-domains and entries.
Once you create a new zone, you can click on it to see all the records it contains. From there, you can edit existing records, create new ones, and of course delete what you already have.
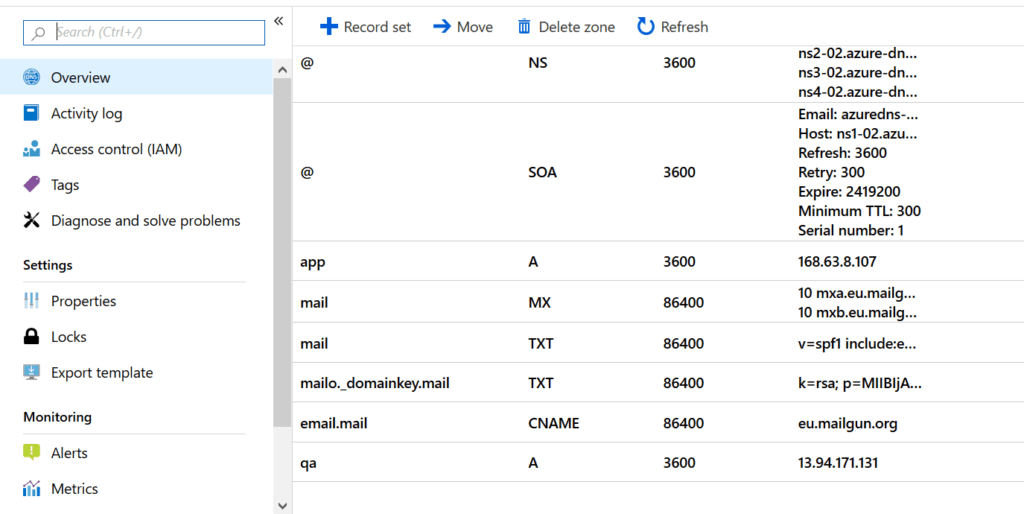
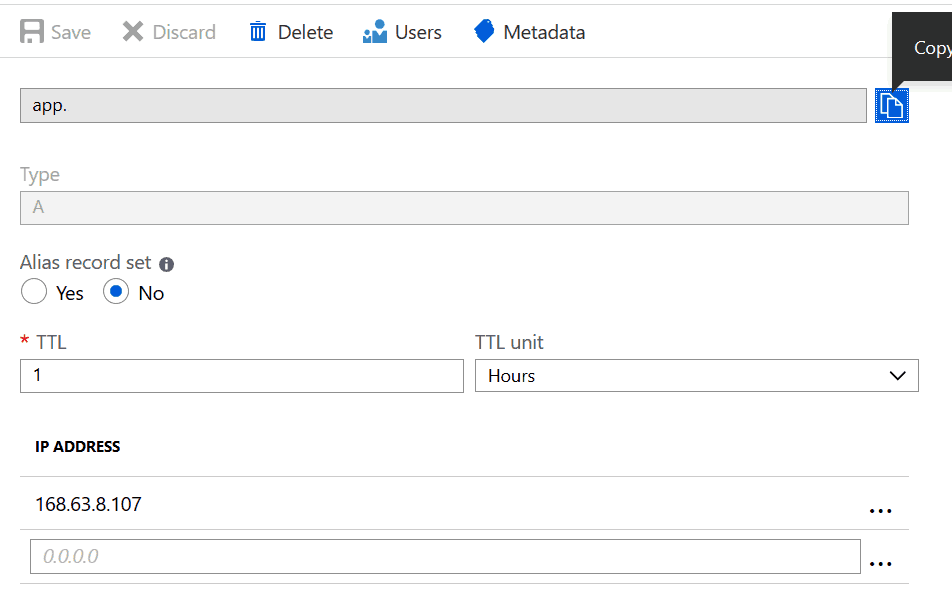
Here things are plain and simple. You simply click on “+ Record Set”, and create the record you want. Instead, if you want to edit or delete a record, you can simply click on it, and you will see something like the interface below.
A little bit more on Azure DNS…
If you look closely at the panel above, you will see two buttons that are not really about DNS. I am talking about Users and Metadata.
Users button allows you to define which users can modify this DNS entry. This is extremely handy if you are running DNS for a large organization. I have experience on that, and it can be very painful. If you give full DNS control to all IT departments, someone will break something. Period. Instead, if you keep the control for yourself, you will have an unimaginable burden that brings little value. Here, instead, you are granular with the access. You can give to everyone access only to the entries he needs to have access.
Metadata button is another key tool for large organizations. Like users, it brings little value for small companies. Metadata simply allow you to associate the entry with some labels, some arbitrary strings. You can associate each record with the technical owner, the business owner, a cost center or more.
Azure DNS for CI/CD
Continuous Integration and Continuous Deployment (CI/CD) is the modern way to craft software. This process requires an high level of automation to save the developer’s time. Azure DNS can integrate quite well into that.
Imagine you have an application that runs on a Kubernetes cluster. You may frequently redeploy your container, and the ingress controller to expose them may get a different public IP address. What is the point of having a complex automation for pushing the software to production, if after that you need to update DNS manually?
If you run an Azure Pipeline, and you also have your DNS in Azure, you can automate everything.
To enable this automation, go to your organization inside Azure DevOps, and then navigate to Organization settings on the left menu. Then, go to Extensions and use the button on the top-right to Browse the marketplace. Here, look for the Azure DNS zone manager plugin.
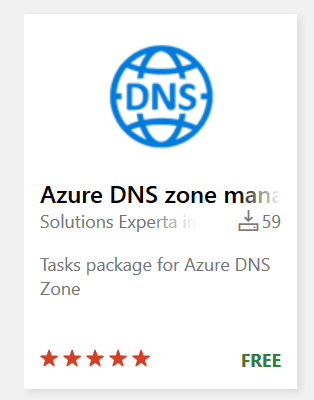
Select it, and install it. Once you do that, you can have the “A Record DNS Manager” and “CNAME Record DNS Manager” inside as tasks available inside your pipelines.
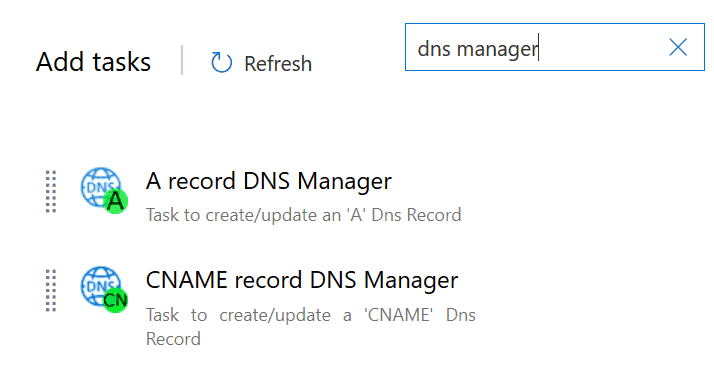
As you will see, configuring these tasks is simple. Just specify domain, entry and value.
Final Words
Azure DNS vs. AWS Route 53
How does Azure DNS compares with AWS Route 53? Since AWS is the leading cloud provider, you might expect it to be better. However, Azure is the second cloud provider world-wide, so which one is it?
As you might imagine in these cases, there is no right answer. It depends on what you are trying to accomplish. We can summarize the difference in the table below. Then, it is up to you. In bold, the best of the two.
| Azure DNS | AWS Route 53 |
|---|---|
| Pay per zone and pay per amount of queries. | Pay per zone and pay per amount of queries. |
| Cannot register new domains. | Can register new domains, but only for common extensions (e.g. .com, .net). |
| Access is granular to record level. | Access is granular to zone-level only. |
| Easy integration with Azure Pipeline. | Can be automated with the AWS API, but no native integration out-of-the-box. |
| 100% availability. | 100% availability. |
In conclusion
In this post, we saw how to use Azure DNS to manage a DNS Zone, and how to integrate it with an Azure Pipeline. Going with Azure or AWS is really up to you, and the best option may be to mix them, depending on what you want to accomplish.
Which one you prefer? Why? Let me know in the comments.
