
If you want to use DevOps in your project, you need to know about build pipelines. While there are many tools out there to implement them, Azure is among the bests. It allows you to define the pipeline and run it in the cloud, for free. For this reason, Azure is a great place to start your DevOps project. In this post, we will see how to create an Azure build pipeline in just 10 minutes. And, of course, we will explain what a build pipeline is.
What is a build pipeline?
If we want to talk about Azure build pipeline, we need to understand what is a build pipeline first. Luckily, this is simple. A build pipeline is a set of steps that takes the code and produces an artifact. The artifact is just a compiled code, ready to ship to production servers.
A build pipeline is a set of steps producing an artifact from the source code.
Now, a set of steps may be a piece of paper as well. However, that would be pretty much useless, except by clearly defining what to do to create the artifacts. Instead, a build pipeline is a declarative file with a set of steps. In other words, a computer can parse the file and build the artifact for you. This has the amazing potential of automating your build process, and that’s what we are doing with DevOps.
If you want more information about code artifacts, read this post about artifacts in programming.
Azure Build Pipeline
Setting you up
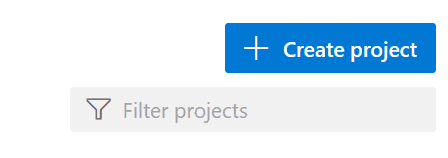
Of course, to have an Azure build pipeline you need to have an Azure account. If you don’t, you can register one at azure.microsoft.com. Registration requires your credit card but is free. And, luckily for us, using the DevOps part of Azure is free, including azure build pipelines. Once you registered, you can access the DevOps portal here (select “Start Free”). You will end up on a list of projects, which is empty if you don’t have any. If so, create a project with the button on the top-right of the page.
Once you created your project, you should configure at least one repository and push your source code. You can do that in Repos, from the left menu.
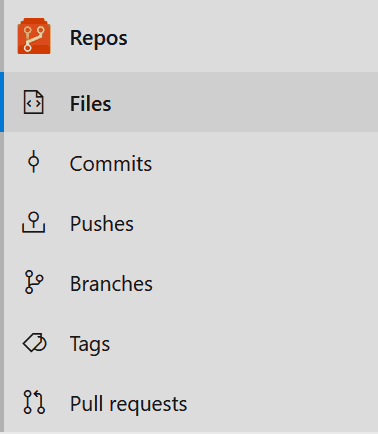
Set it up like any other Git server, and we are ready to go.
Your first Azure Build Pipeline
As we said in the introduction, the build pipeline must use a descriptive and imperative language. For Azure, that can be YAML or JSON. The first is easier to read for humans, so we will go for that. Thus, at the root of your source code folder, create a file named pipeline.yaml (note that you can use any name you want). This is the file that will describe your Azure build pipeline.
At the beginning of the file, we define the environment. Do we want to build our code on a Windows or Linux server? In the following example, we will go for ubuntu.
pool:
  vmImage: 'ubuntu-16.04'
Here we are saying to use a pool of servers based on the image ubuntu-16.04. You have many options, and you can check the Azure documentation about agent pools. Furthermore, you may create your own agent, running your custom OS. Of course, that’s not really the job of a beginner, and we won’t go any deeper on that.
After defining the pool, we may want to declare some variables. We will be able to use them later on in the azure build pipeline. We do that in this way.
variables:
  phpVersion: 7.2
  dockerRepository: 'dockeruser/repositoryname'
It is extremely simple. On the left, we have the variable name, and on the right of the colon, we have the value to give to the variable. We are now set to actually define build steps.
Azure build pipeline steps
At this point, we defined the environment of our pipeline, but not really what it should do. We need to define some steps, that it will take sequentially. In our example, we are building a PHP project, but you can apply this very approach to any programming language. We define the steps inside, guess what, the steps section. That steps part is just a list of individual steps. Each step may be of a different type. By looking at the code you will get a much clearer idea.
steps:
- script: |
sudo update-alternatives --set php /usr/bin/php$(phpVersion)
sudo update-alternatives --set phar /usr/bin/phar$(phpVersion)
sudo update-alternatives --set phpdbg /usr/bin/phpdbg$(phpVersion)
sudo update-alternatives --set php-cgi /usr/bin/php-cgi$(phpVersion)
sudo update-alternatives --set phar.phar /usr/bin/phar.phar$(phpVersion)
php -version
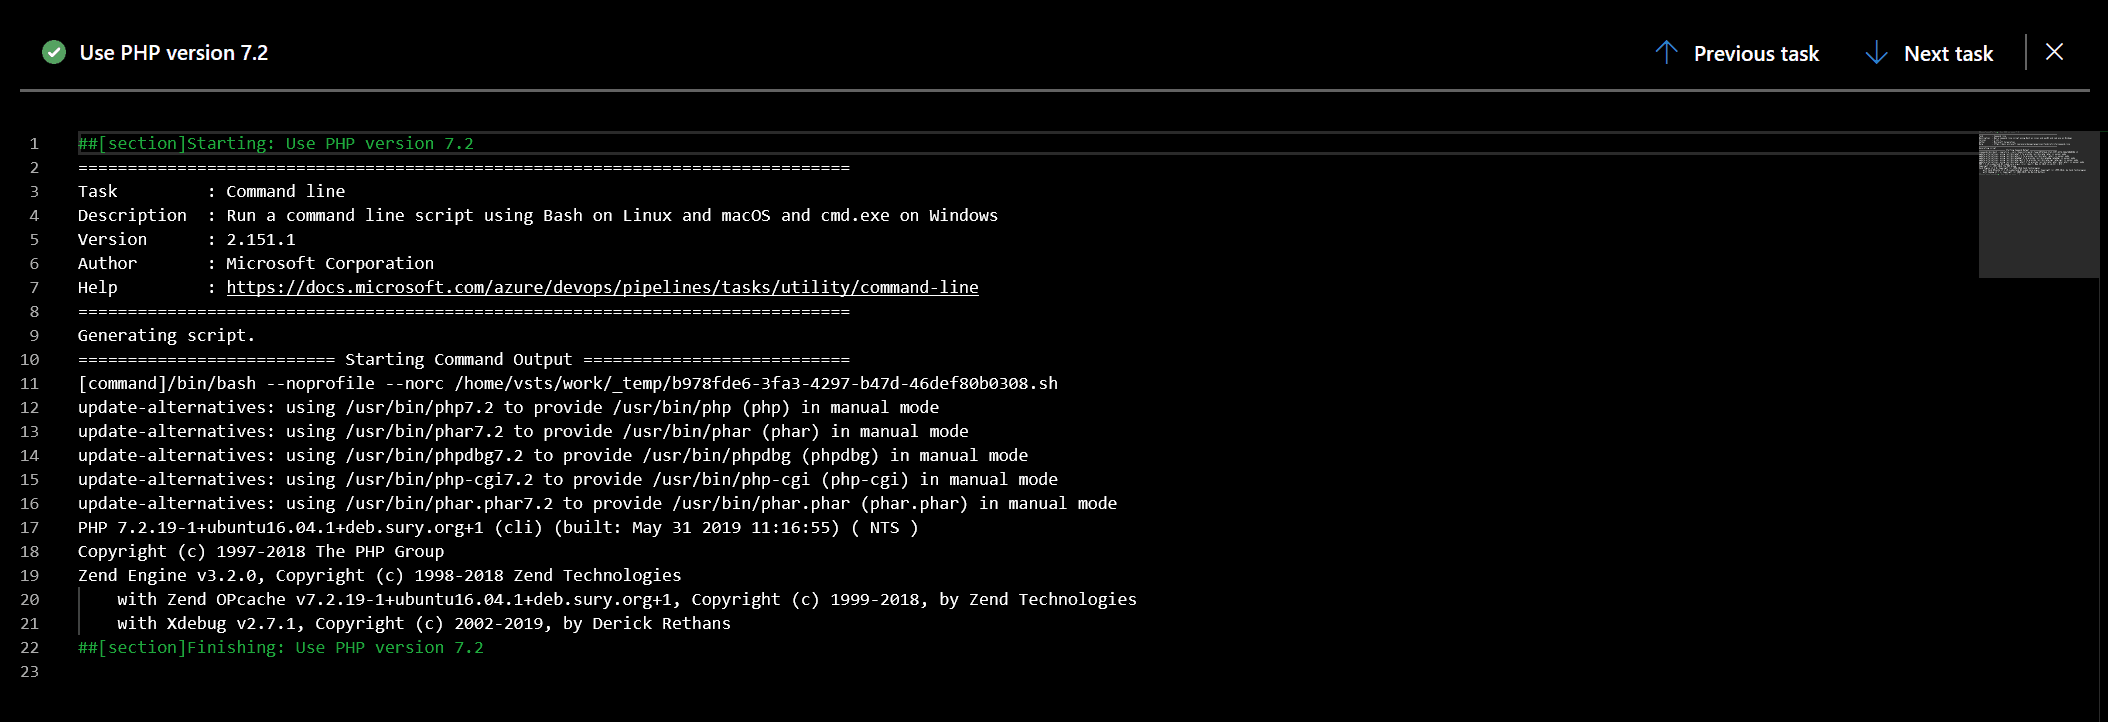
displayName: 'Use PHP version $(phpVersion)'The first step is of type script. As you can guess, this type of step send commands to the agent CLI. Since we want to build our PHP application, we first need to install PHP at the desired version. And that’s when our variables kick in. You can use anywhere in the code simply with $(variableName). At build time, this will be replaced by the actual value of the variable. The pipe after the declaration of the step tells to execute multiple CLI commands. Instead, the displayName at the end is a descriptive name that we can see inside Azure when running the build.
As you can see here, it is also useful to debug some output (php -version). When we run the build, Azure will log what happens.
After all your build steps, use the two following steps. The first is to define what are the files to include in the artifacts, and the latter is to actually export them.
- task: ArchiveFiles@2
  inputs:
    rootFolderOrFile: '$(system.defaultWorkingDirectory)'
    includeRootFolder: false

- task: PublishBuildArtifacts@1
Note that, here, $(system.defaultWorkingDirectory) is a variable you automatically get from Azure at build time. It represents the working directory on your agent that is running the build.
Most of your build steps will be the execution of scripts. In fact, almost with that you can create a nice artifact. However, there are some additional tools you want to know about. Just read on.
Additional build steps
As said, just script steps are fine for many azure build pipelines. Here we want to go deeper, so let me present additional types.
Build docker container
Sometimes, your artifact is a docker container. You can build and push it to your docker registry with the following command.
- task: Docker@2
  inputs:
    containerRegistry: 'your-registry
    command: 'buildAndPush'
    repository: '$(dockerRepository)'
    dockerfile: 'dockerfile'
    buildContext: '**'
    tags: '$(Build.BuildId)'
  displayName: 'Create and push docker container image'
A few things to note here:
Docker@2means we are running the Docker step (task), in its second versions. Azure may update tasks and new version will come out now and then. Is not the version of docker, it is the version of the task.containerRegistryis the code (looks like a string with some dashes in it) of your container registry inside Azure. In fact, in Azure you can configure docker registries at will. Each also includes the credentials to authenticate to it, and has its own code. In this way, you don’t need to put the credentials in the pipeline.- The
$(Build.BuildId)is a variable that you automatically get from Azure when building. - And, finally, you can define where is the dockerfile with
dockerfile, what is the build context and what is the command (in this casebuildAndPush), but there are other options (all docker commands).
Logging test results
If you have a test suite that is capable of producing test results that comply with the JUnit standard, you can publish them in Azure. They will appear in your dashboards.
- task: PublishTestResults@2
  inputs:
    testRunner: 'JUnit'
    testResultsFiles: '**/TEST-*.xml'
In this example, we simply tell Azure to fetch any file that starts with TEST- and ends with .xml, in any folder. We tell Azure to parse it with JUnit.
Configure Azure to do the build
Do the configuration
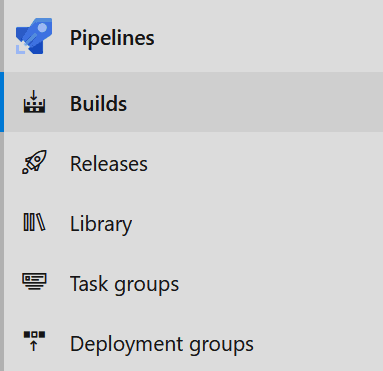
At this point, we need to go back in our Azure portal. This time, we don’t use the repos, but the Pipelines instead. You can still find them in the left menu. Since we are talking about Azure build pipelines, we need to select just that: builds.
Here you will find all the pipelines you have defined for the build of the project. If you don’t have any, you will be prompted to create one. Once there, select that your code is in Azure Repos, then select the repo from the ones that appear. Azure will do some checks to detect the best settings for you. After that succeeds (or fails), select that if you want to go with an existing YAML file.

A pop up will appear, asking you to select the file within the files of the project. Just select the pipeline.yaml file we created. Then, click Continue. You will review your pipeline, and you will be able to run it.
Do the build
To do the build, simply run it. The result will be something like the following screenshot.
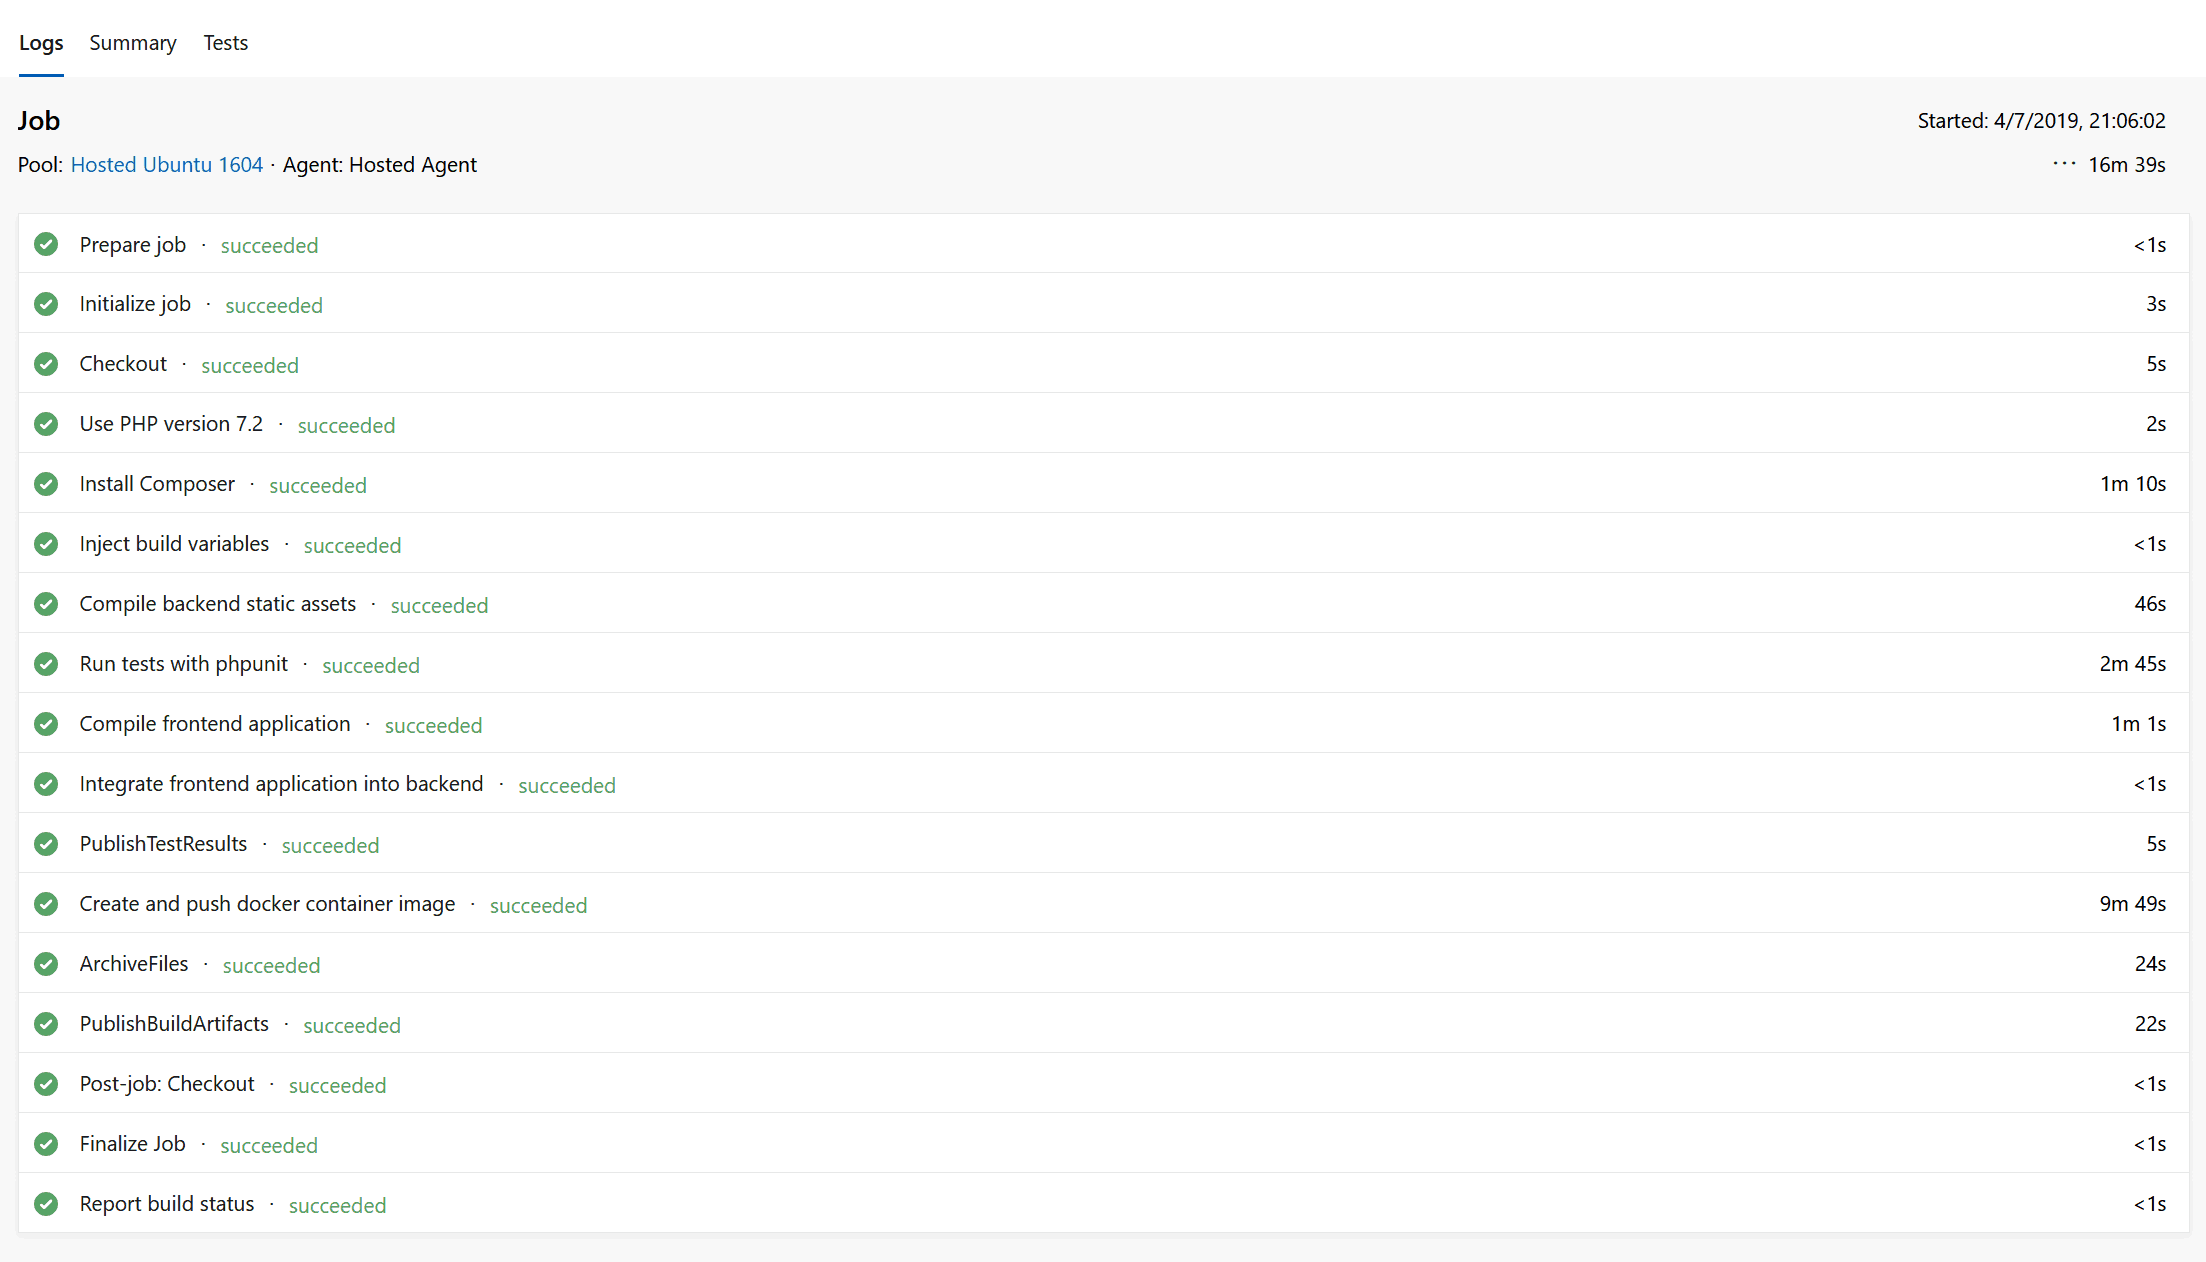
Here, you see all the steps that are parts of your build. Each is named according to its display name, if provided. Furthermore, you can click on any of them to see the logs.
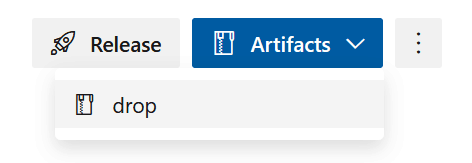
Of course, you will be able to see the results of a failed build as well. In this way, you can debug it and see what went wrong. Finally, you can download the code artifacts that the build produced. To do that, go to Artifacts on the top right and select drop.
The only note here is that you can only download the drop of successful builds. Why? Because you cannot know where and why a build will fail, so you cannot be sure that a failed build will have something to download. On top of that, it would make little sense to download a failed artifact, and would only cause confusion. Instead, use the logs for your debugging.
A complete pipeline.yaml
For your convenience, here we have a valid pipeline.yaml that builds a container with a Laravel application. The examples for this post were taken from this very file.
pool:
  vmImage: 'ubuntu-16.04'

variables:
  phpVersion: 7.2
  dockerRepository: 'xxxxx/xxxx'

steps:
- script: |
    sudo update-alternatives --set php /usr/bin/php$(phpVersion)
    sudo update-alternatives --set phar /usr/bin/phar$(phpVersion)
    sudo update-alternatives --set phpdbg /usr/bin/phpdbg$(phpVersion)
    sudo update-alternatives --set php-cgi /usr/bin/php-cgi$(phpVersion)
    sudo update-alternatives --set phar.phar /usr/bin/phar.phar$(phpVersion)
    php -version
  displayName: 'Use PHP version $(phpVersion)'

- script: |
    cd backend
    composer self-update
    composer dump-autoload
    composer install --no-interaction --prefer-dist
  displayName: 'Install Composer'

- task: replacetokens@3
  inputs:
    targetFiles: 'rsbp-chart/values.yaml'
    encoding: 'auto'
    writeBOM: true
    actionOnMissing: 'fail'
    keepToken: false
    tokenPrefix: '$('
    tokenSuffix: ')'
  displayName: 'Inject build variables'

- script: |
    cd backend
    npm ci
    npm run production
  displayName: 'Compile backend static assets'

- script: |
    cd backend
    ./vendor/bin/phpunit --exclude-group manual --log-junit TEST-RESULTS.xml
  displayName: 'Run tests with phpunit'

- script: |
    cd frontend
    npm ci
    npm run build
  displayName: 'Compile frontend application'

- script: |
    cp -rfv frontend/dist/. backend/public/
  displayName: 'Integrate frontend application into backend'

- task: PublishTestResults@2
  inputs:
    testRunner: 'JUnit'
    testResultsFiles: '**/TEST-*.xml'

- task: Docker@2
  inputs:
    containerRegistry: 'xxxxxxx'
    command: 'buildAndPush'
    repository: '$(dockerRepository)'
    dockerfile: 'dockerfile'
    buildContext: '**'
    tags: '$(Build.BuildId)'
  displayName: 'Create and push docker container image'

- task: ArchiveFiles@2
  inputs:
    rootFolderOrFile: '$(system.defaultWorkingDirectory)'
    includeRootFolder: false

- task: PublishBuildArtifacts@1
In Conclusion
In conclusion, creating an Azure build pipeline is simple. We just need to make some configuration inside Azure DevOps and write a simple YAML file. In the YAML file, we can define variables, the agent to run the build, and all the steps to run the build. With this kind of pipeline, we can automate the creation of our code. Furthermore, we can automatically trigger this every time we do a commit.
This is at the foundation of the CI/CD progress and covers the Continuous Integration part. Only if we enable that we can also enable the continuous delivery to production servers. Today we made the first step to a better, leaner, and after the development process. We paved the way for automating also the releases. What do you think of that? Does azure build pipelines help you with your programming life? Let me know in the comments.
